Installing Sonarr couldn’t be any easier when installing using Docker on and Unraid server. Once you have the Community Applications plugin installed you are just a few clicks away from automating your TV show consumption.
Community Applications Plugin
First thing first. You need to install the Community Applications plugin. You can find a guide on how to do that HERE
Shares
Secondly you need to set up your shares. Shares are where Sonarr will be accessing your downloads and putting the TV shows on your Unraid server. These will be accessable from your network so other applications can access them. The usual setup for Sonarr would be to have a Media share that contains a TV subfolder. I have chosen to have individual shares for my media.
Below is a screen shot of my current settings for my TV show share. I have chosen to Automatically split only the top two directory levels as this should keep all season folders on the same drive. Everything is else is pretty much standard settings.
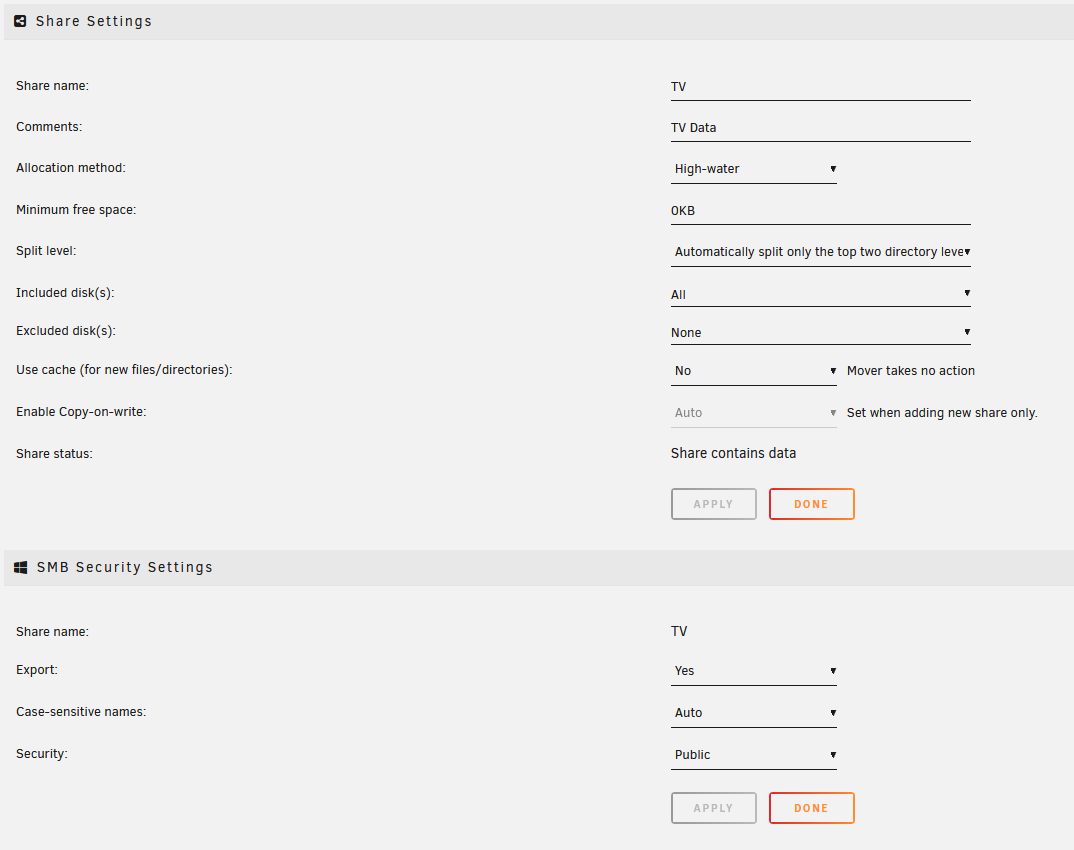
You will also need your download folder share setting up but this should be done when setting up the downloader.
Sonarr
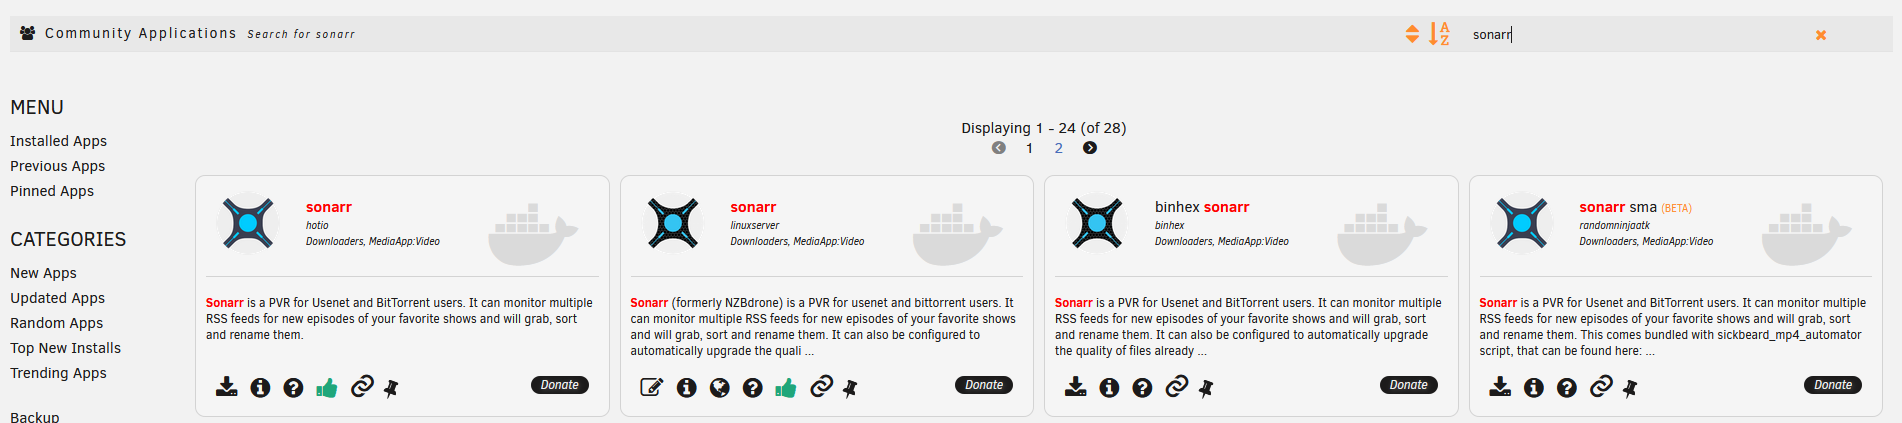
Once you have the shares set up you can now finally get round to installing Sonarr. You will need to browse to the APPS tab on your Unraid server and search for Sonarr. You should see a few different versions popping up from different providors. We will be using the Linuxserver.io containers as I have always had a positive experience with them. Click the install icon.
You will now see the page for setting up the container settings. You can see from my screenshot that I am using a custom network called proxynetwork. This is so I can use the Linuxserver.io Letsencrypt container with their proxy configs to automatically set up the reverse proxy. This will be discussed in an up and coming blog post for reverse proxies.
The important options to look at here are Host Port 1. This will be the port that you will be accessing the web interface of Sonarr on. You can leave this as default as long as you do not have anything else running on the same port.
Host Path 3 is the share you want your media to be copied to once the download has completed. This will be the share that we set up previously.
Host Path 4 is the share that have set up for your downloader. I have found that if you are too specific with the download folder Sonarr does not find completed downloads. I used to have it pointing to Downloads/Incoming but Sonarr failed to see any completed downloads. Pointing it up a level to just the Downloads folder resolved that issue.
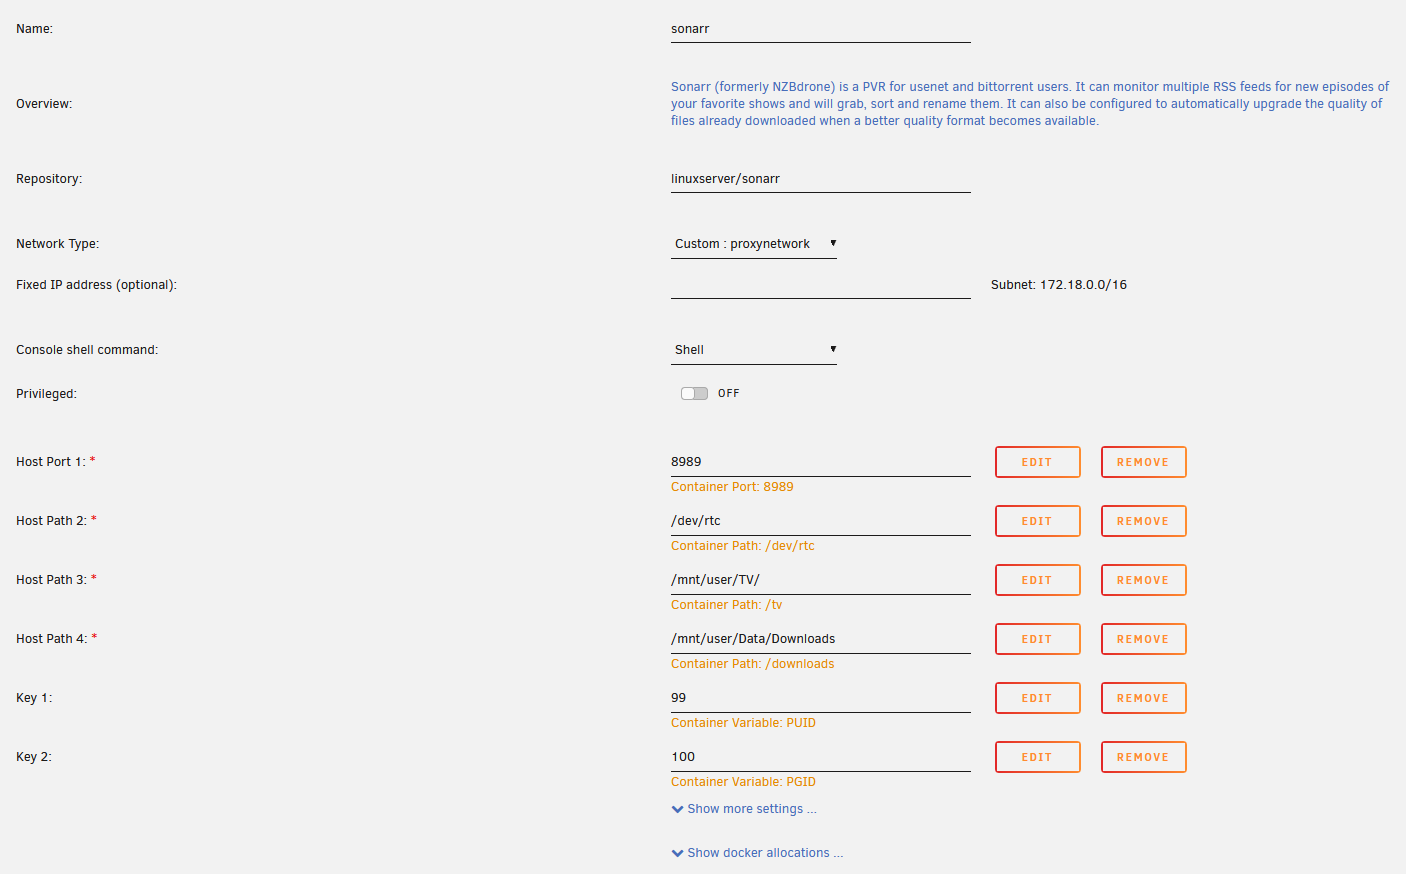
Once you have your settings done click done. This will now download and set up the container.
Now you can run Sonarr by accessing the DOCKER tab, clicking on the Sonarr icon and clicking start. You’ll need to wait a little bit before being able to access the web interface for Sonarr but to do this you can click on the Sonarr icon and then click on Web Interface. A new tab will open and you will now have access to Sonarr.
From here you can configure settings within Sonarr. I will also be writing another blog post on how to link Sonarr with Jackett and ruTorrent for a complete automation set up.